Up your ‘Gram game: Top travel photography tips from Instagrammers
Andrew Dickens
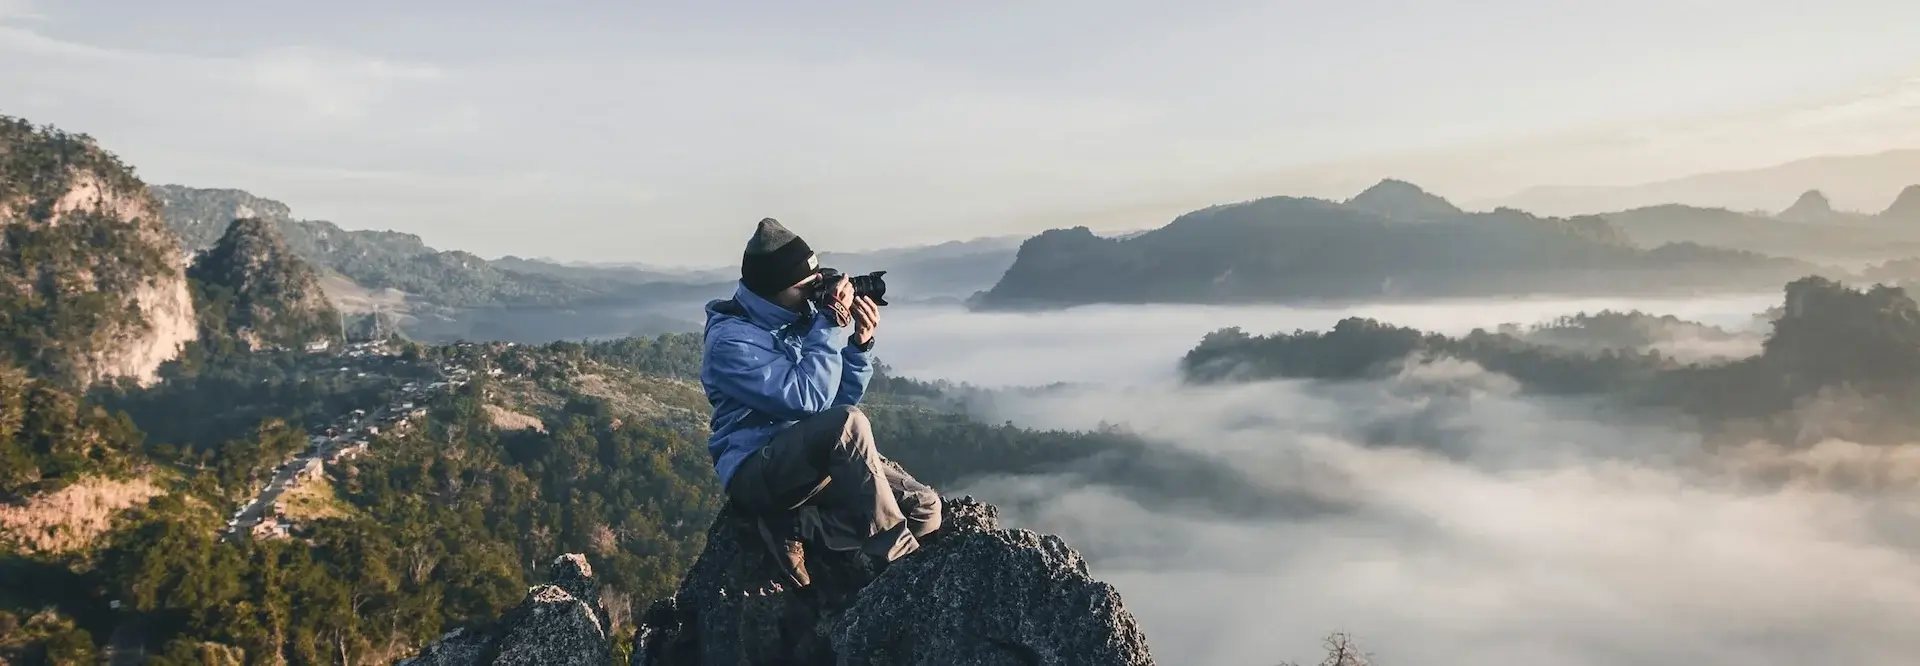
Want to nail your holiday pics? Travel bloggers provide expert photography tips on the six shots you’ll want when you travel solo
There was a time when getting good holiday photos was like winning a very small lottery. You’d take your pics, drop the film off to be developed, collect and thumb through a selection of, well, thumbs: big, fat blurry digits blocking out Aunt Vera’s new perm or half the Eiffel Tower. If you had one worth framing, you were happy.
Now, though, being a travel photographer is easy, right? Auto-focus, auto-exposure, and the chance to instantaneously review all 300 images you’ve just created means the secret of perfect photographs is at everyone’s fingertips’.
Except, if you’re honest, do your Instagram postings leave a little to be desired? Are your travel photos more premium economy than first class? Sure, they mean something to you: precious moments, great memories, excellent tans. But as works of art, do they pass muster? Especially when you’re enjoying some solo travel and want Aunt Vera et al to appreciate the true joy of your experience.
The question you should be asking is: how do I take better photos on holiday? And we have some answers.
Whether snapping with your phone or a fancy digital camera, travel photography is an art. So, we’ve asked two travel bloggers and Instagrammers, Tom Grond (aka Traveltomtom) and Ellie Parker (aka Livewithelle), to give their expert photography tips, from focal length light sources to the art of a good selfie. Your social media game is about to get upgraded.
How to take a group photo with your new friends
One problem with any group holiday is getting the perfect group photo. Short of lining up football team-style, it can be tricky to get everyone in a photo, let alone with every pair of eyes open. Here’s what our experts say:
Tom says: “Make them squeeze in so that everyone fits in it and DON’T ask any random stranger to take a photo. Look around you who takes taking photos serious and put in some effort. Ask them to take a bunch of photos from different perspectives.”
Ellie says: “Bring a tripod! If you can’t fit a normal sized tripod, I invest in a small JOBY tripod, that is travel-friendly size and can wrap around anything. The group photo is the hardest! Position the camera and people should walk around it, and let you take your photo in peace.”
How to take a selfie at an amazing location
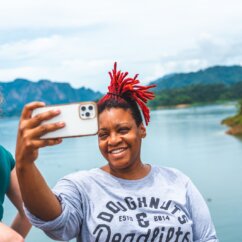
One thing you’re going to encounter on a solo trip is being alone, which means only one thing: selfie time. Here’s what our experts say:
Tom says: “Make sure you don’t block the highlight with your face. When you are standing in front of the Taj Mahal make sure you can still see the Taj Mahal. Use a tripod and try a couple of times. Set your timer on 20 photos in 30 seconds and make slight movements, so that you have 20 different shots to choose from. First set the composition right and then walk into the shot.”
Ellie says: “Number one hint – always take the photo landscape! You’ll get yourself in the photo, but more importantly, you’ll get the beautiful landscape as well. I know it might sound cringe, but if you want the ultimate selfie shot, invest in a selfie stick! You’ll look a little silly, but for a magical photo it’s worth it!”
How to photograph a beautiful sunset or landscape
“You really had to be there.” Not a sentence you want to utter every time you show someone a picture of that life-changing view you experienced. Here’s what our experts say:
Tom says: “This is all about the composition, make sure you have enough sky in it but not too much either. When the sky is just blue, try to get an object in it, like a tree or some branches. Blue skies in photos are boring!”
Ellie says: “Firstly, you need to do your research! To catch the perfect sunset or sunrise, you’ll need to be there at the perfect time… which means the entire time! Use a tripod so your photo isn’t wobbly, and so it captures every detail perfectly. Have patience, and thought it may feel silly, take the same photo 100 times. I promise you might not like the first photo, but within 100, you’ll find a winner!”
How to photograph a cool building
Buildings are almost made to be photographed. Some are even frame-shaped. Yet somehow, when we photograph them, it’s easy to make them look like a child’s drawing of their house. Here’s what our experts say:
Tom says: “Try out different angles! Kneel down, lay on the ground, or try to get an angle from a balcony from a nearby building. Always make sure the top of the building is in the picture, don’t cut the building in half.”
Ellie says: “Look for the details that you’re first drawn to – these are the details you need to photograph. If you don’t have a zoom lens handy, try to get in as close as possible to really capture the magic of the building. Also, look for different angles. It’s not always front on that will provide the most unique photo. Look up, look down, look all around!”
How to photograph interesting locals
If you come across a small group of locals, in full traditional dress, reenacting the great Haddock Rising of 1407, you’re going to want to capture them. But how, without risking the wrath of the High Haddock? Here’s what our experts say:
Tom says: “Rule number one: first ask them for a picture! Never just click a shot right in their faces, it’s rude! Be a responsible tourist. People mostly always cooperate. Show them your camera, smile and just ask ‘ok?’ Everyone understands that!”
Ellie says: “If you’re capturing a large group of people or in a busy place (like a marketplace), there’s no need to ask permission. They’ll be gone before you know it, and the picture will give just a split second view into their lives. If you’re taking photos of only one or two people, it’s polite to ask, especially when in a foreign country. Be aware that people may ask for money, particularly when travelling within third world countries. The best photos are always those not posed, so ask, and then maybe shoot the photos 5 minutes later, when they’ve forgotten!”
How to photograph food
Food photography can make food look great, or it can make the best meal of your life look like something your dog would send back to the kitchen. Here’s what our experts say:
Tom says: “Set your aperture as low as possible so you blur the rest of the picture. The only thing in the photo that is interesting should be the food.”
Ellie says: “If you’re going for the ‘flatlay’ look, invest in a camera that has a flip screen, like the Canon EOS M6. It’s a great beginner camera, and has a crystal clear capture for all your foodie details. It’s easier to see the image on the screen, and will save you from catching the photo at an odd angle. Also, the higher you are, the better the angle – keep this in mind as well (that’s why the professionals use ladders when shooting food!).”
Read Tom’s travel blog at Traveltomtom.net and Ellie’s at Livewithelle.com
Some picturesque trips to make things click
Light up your life in Finland
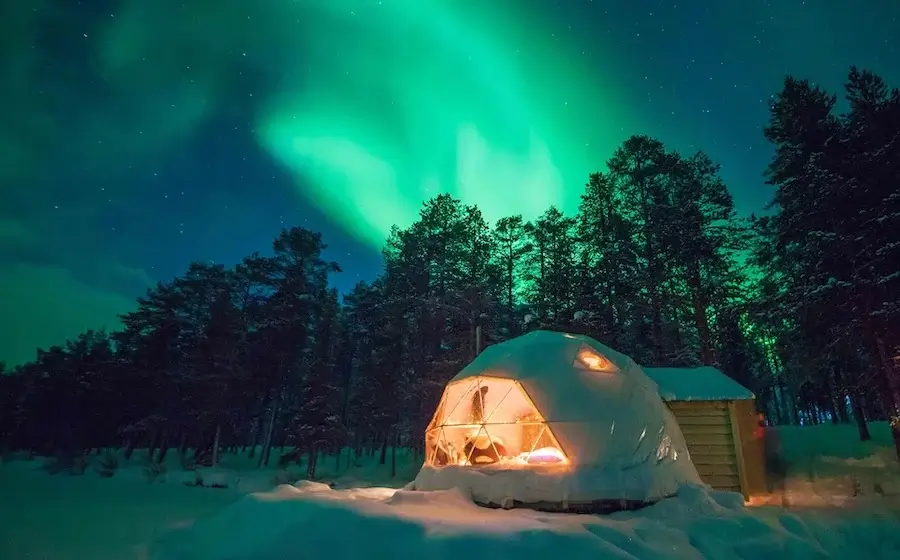
Icy wilderness, husky sleigh rides, snowmobiles by twilight under the Northern Lights: prepare to flood feeds with dramatic photos on this winter wonderland trip.
Capture the beauty of Vietnam and Cambodia
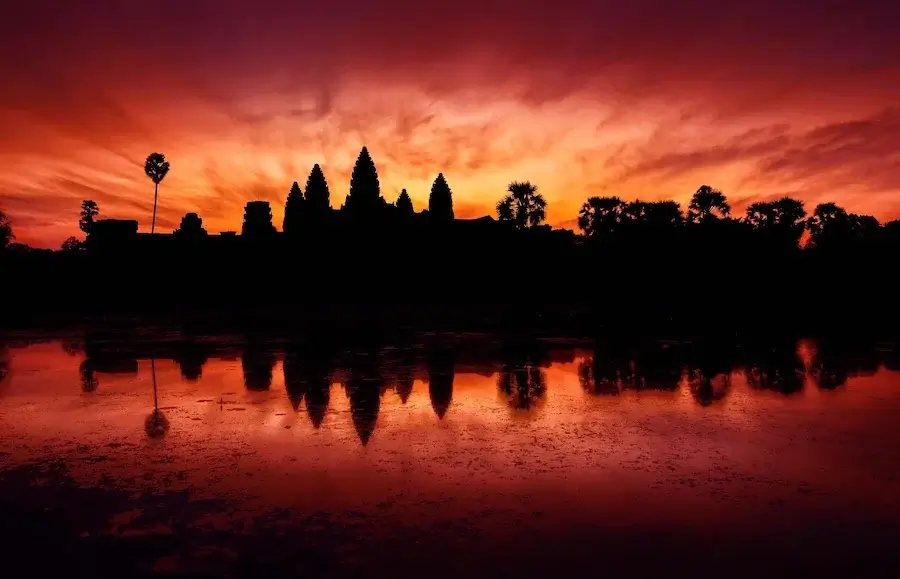
Go micro and macro on this marvellous two-week adventure, with photo opportunities ranging from the food you’ll create in a cookery class to the Angkor temples to the rocks of Halong Bay,
Expose yourself to the Inca trail

You want scenery? We’ll give you scenery. Food and cocktails? That. too. On this trip, you’ll climb one of the world’s most famous routes by hiking and biking, as well as experiencing the exceptional cuisine of Lima.
